Finishing Techniques: From Loom to Wearable Art
The final steps matter most. Learn trimming, fringing, binding edges, and other techniques that transform your woven pieces into finished textiles.

Why Finishing Really Matters
You've spent weeks at the loom. The weaving's done. You're excited. But here's the thing — that's when the real work actually begins. Finishing isn't just trimming loose threads. It's what transforms your textile from "I made this" into "I made this beautifully."
Most weavers rush this part. They see the piece off the loom and think it's finished. But proper finishing techniques determine how your textile hangs, how it wears, and whether it'll last years or fall apart after a few washes. The difference between amateur and skilled work shows in the finishing.
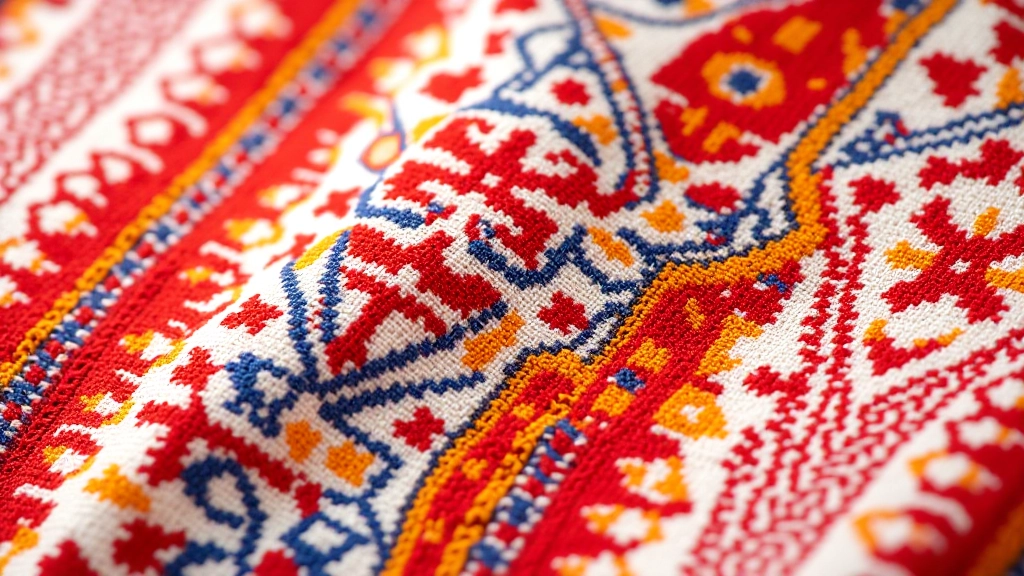
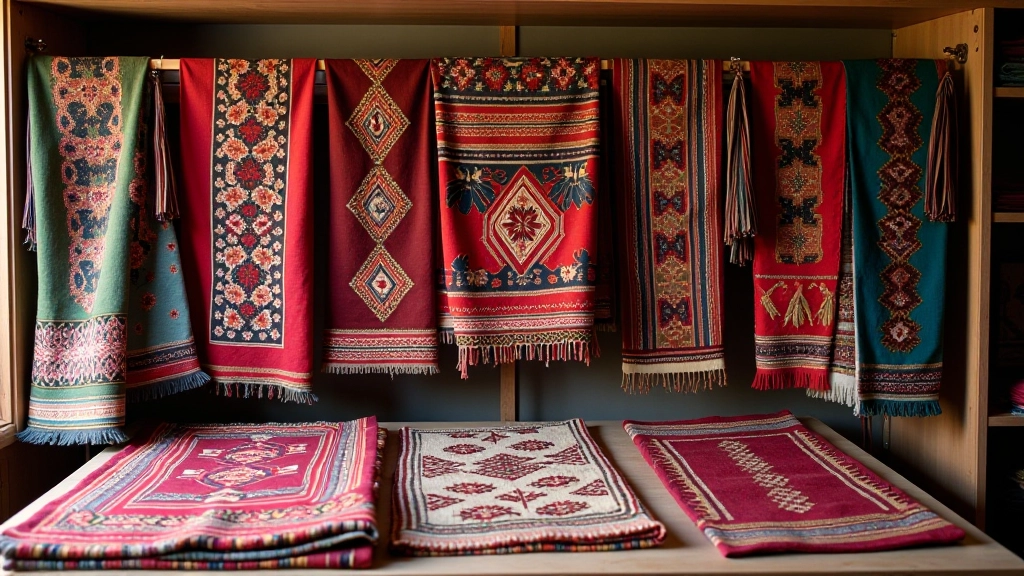
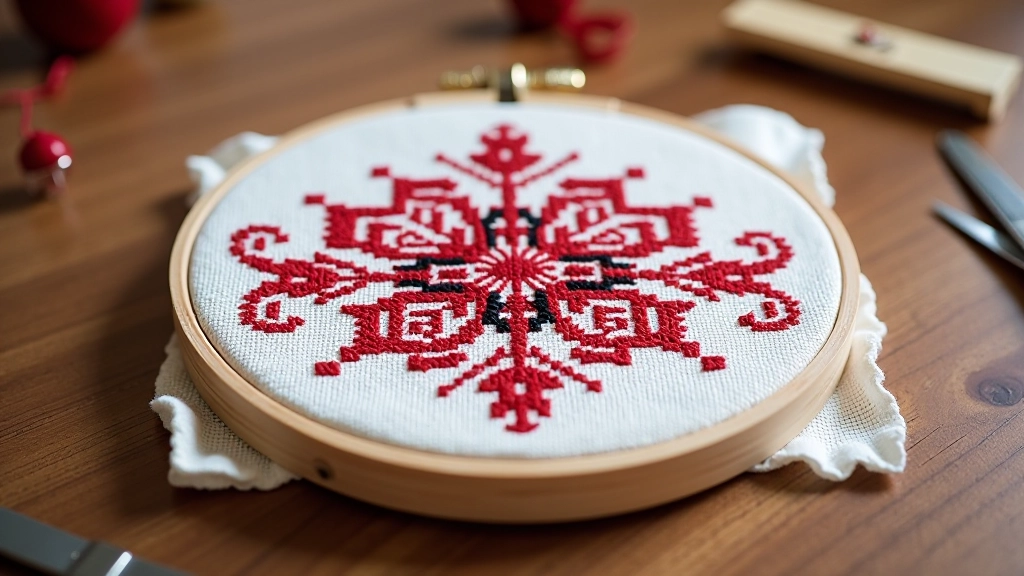
Traditional Lithuanian weavers understood this deeply. They'd spend as much time finishing a piece as they did weaving it. The fringe wasn't just decorative — it protected the edges and kept everything secure. The binding held the structure together. These weren't shortcuts; they were craftsmanship.
The Core Finishing Techniques
There are five main techniques you'll need to master. Don't worry — they're not complicated, but they do require patience and attention to detail.
Trimming and Securing
Cut excess warp threads close to the weave, then secure them with a needle and matching thread. You're not just cutting — you're anchoring. Take 2-3 passes through each thread end.
Fringing
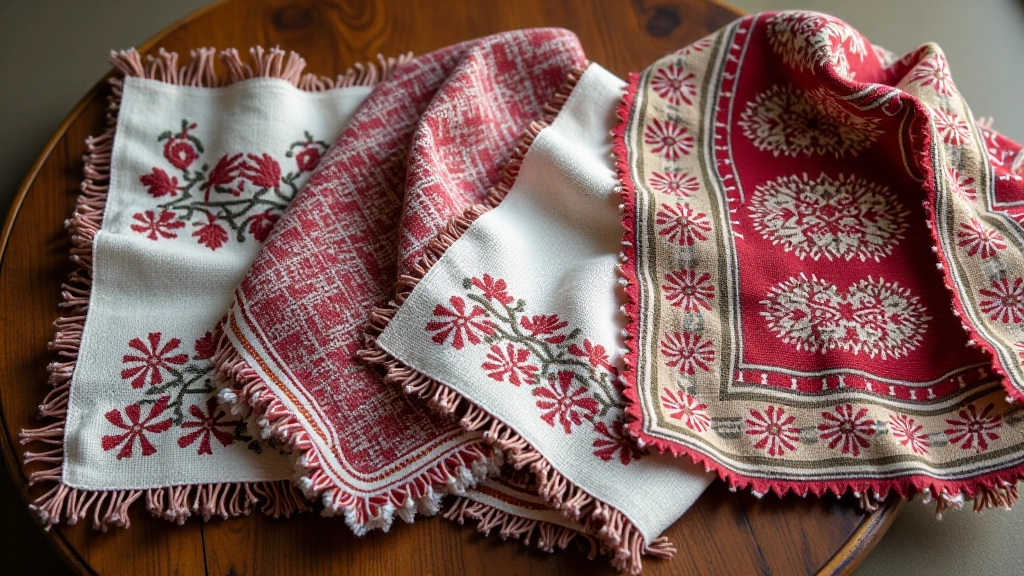
The most visible finishing element. Leave warp threads intentionally long, then separate and comb them out. Typical fringe lengths are 2-4 inches depending on your design. Some pieces use twisted fringe for a more finished look.
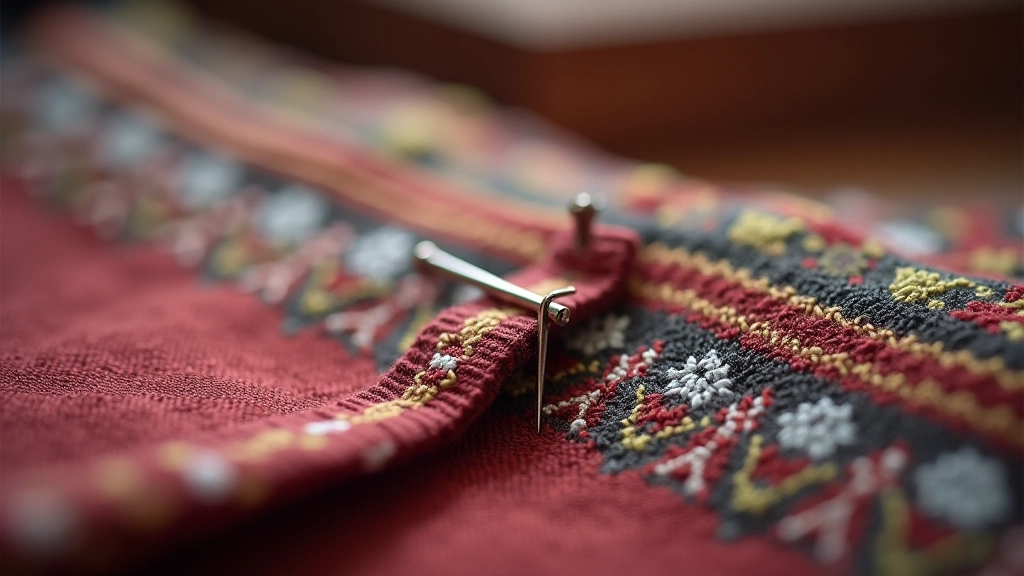
Edge Binding
Fold and stitch fabric binding around the edges, or use a contrasting thread to whip-stitch along the perimeter. This prevents unraveling and adds a polished frame to your work.
Pro Tip: The 24-Hour Rule
Don't finish your textile immediately after removing it from the loom. Let it rest for at least 24 hours. The fibers need time to relax and settle. You'll notice it naturally curves and drapes better. Then your finishing techniques will work with the textile's natural movement, not against it.
Rolled Hems and Hand-Sewn Edges
Not every textile needs fringe. For scarves, table runners, or decorative pieces, a rolled hem creates an elegant, refined finish. It's more delicate than binding and shows real skill.
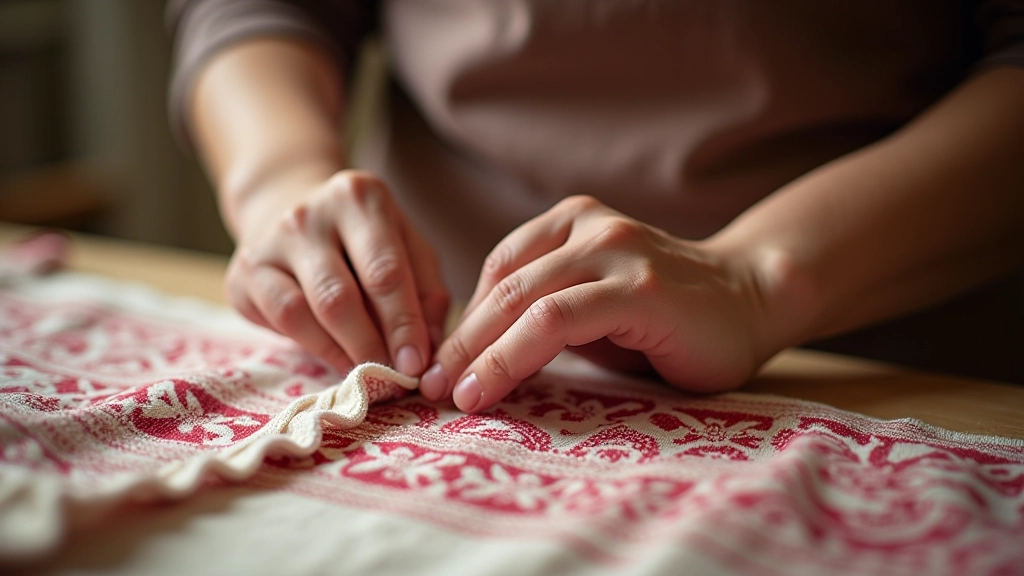
Here's how it works: Fold the edge inward by about a quarter inch, then roll it again. Use a needle and matching thread to stitch it down with tiny, nearly invisible stitches. It takes patience. You're working with maybe 1/8 inch of fabric. But when you're done, the edge disappears. The piece looks like it was professionally manufactured.
The key is consistency. Your stitches should be evenly spaced — about 1/8 inch apart — and the same depth throughout. If you vary the depth, the roll becomes wavy. If your spacing is inconsistent, it looks sloppy. Practice this technique on scraps first. Once you get the rhythm, you'll find it actually becomes meditative.
Washing and Final Care
Once your finishing is complete, don't just throw the piece in the washing machine. That's how all your work unravels. Literally.
Hand wash your finished textile in cool water with mild soap. Use gentle motions — don't scrub or wring. Rinse thoroughly until the water runs clear. Lay it flat to dry, or hang it if you're confident in your finishing work. The first wash is the test. If your edge binding holds, if your fringe doesn't tangle, if your secured threads don't pop loose — you've done it right.
Many weavers add a protective spray finish after the first wash. It's optional, but it helps preserve the piece and prevents future fraying. Traditional Lithuanian weavers would sometimes starch finished pieces to give them body and protect the fibers.
Educational Note
This guide provides foundational information about textile finishing techniques based on traditional and contemporary practices. Results vary depending on fiber type, loom construction, and individual technique. We recommend practicing these methods on sample pieces before applying them to finished projects. Textile care should be adjusted based on specific fiber content and any dyes or treatments used.
The Mark of a Finished Weaver
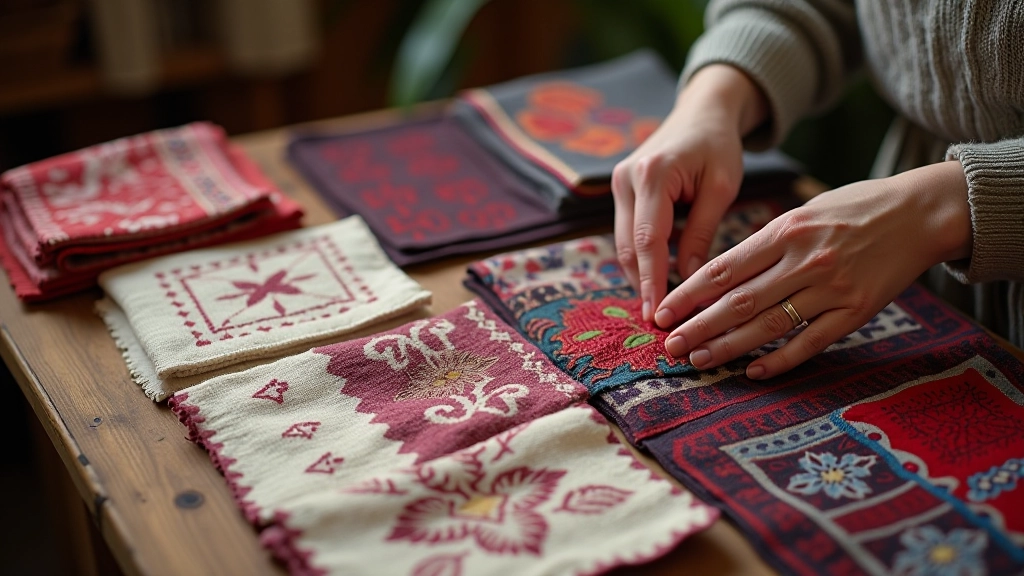
Good finishing separates casual projects from pieces you're genuinely proud to wear or give as gifts. It's where your craftsmanship shows. A well-finished textile lasts years. It drapes properly. The edges stay secure. The colors stay vibrant.
You're not just wrapping up your weaving project. You're honoring the hours you spent at the loom. You're making sure your work stands the test of time. That's what finishing techniques are really about.