
Getting Started with Traditional Weaving Looms
Learn the basics of setting up a traditional loom and understanding warp and weft. Perfect if you've never touched a loom before.

Understanding the Loom Basics
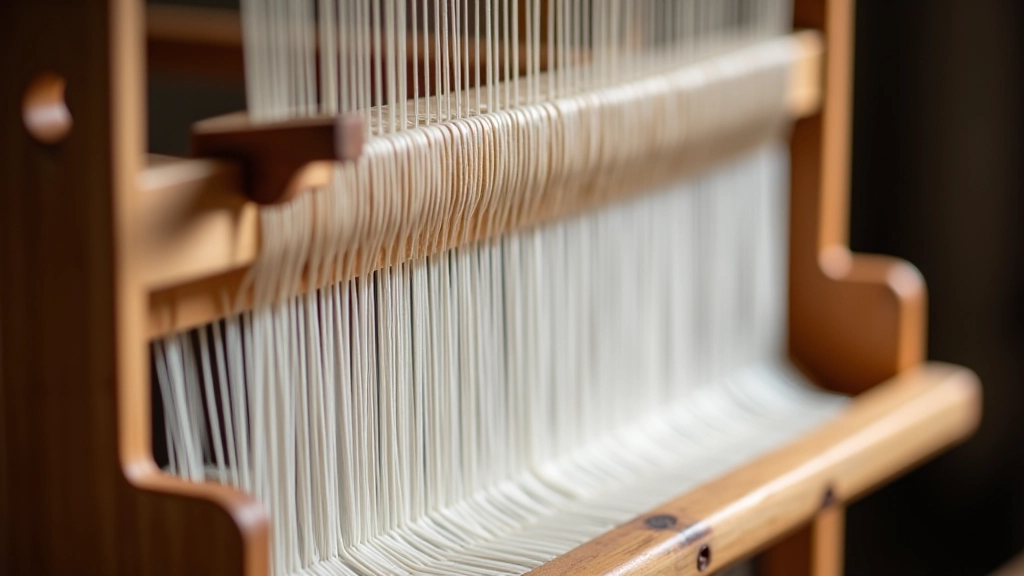
A weaving loom might look intimidating at first, but it's really just a tool for organizing threads. You've got two main components working together — the warp and the weft. The warp threads run lengthwise on the loom, staying in place while you work. The weft threads get woven across them, creating the actual fabric.
Think of it this way: the warp is like the foundation of a building, and the weft is like the walls being added. Without the warp holding everything in position, you'd have nothing to weave into. Most traditional looms use between 50 to 200 warp threads depending on the width you're aiming for.
The beauty of starting with a traditional loom is that you don't need electricity or complicated mechanics. It's you, the threads, and your hands. That direct connection to the craft is what makes handweaving so rewarding — you'll actually feel the tension in each thread as you work.
Setting Up Your First Loom
Getting your loom ready to weave involves several steps, and it's worth doing carefully. Start by securing your warp threads onto the loom. You'll attach them to the warp beam — that's the bar that holds all your warp threads. The tension needs to be even across all threads, otherwise you'll end up with wonky rows.
Most beginners find it helps to wind their warp in bundles of 10 threads at a time. This keeps things organized and makes it easier to spot any twisted threads before you start. Once your warp is wound, you'll thread each one through the heddles — those small rings or slots that help you create the up-and-down motion needed for weaving.
Don't rush this part. A loom that's properly threaded makes the actual weaving so much easier. You're looking at maybe 30 to 45 minutes for a simple setup on a small loom, longer if you've got a bigger project planned.
Key Measurements to Remember
- Warp Spacing: Typically 1/4 inch to 1/2 inch apart depending on your yarn weight
- Warp Tension: Firm but not tight — you should be able to pluck a thread and hear a slight tone
- Loom Width: Frame looms range from 12 inches to 36 inches for beginners
- Threading Time: Plan 30-45 minutes for your first complete setup
The Weaving Process Itself
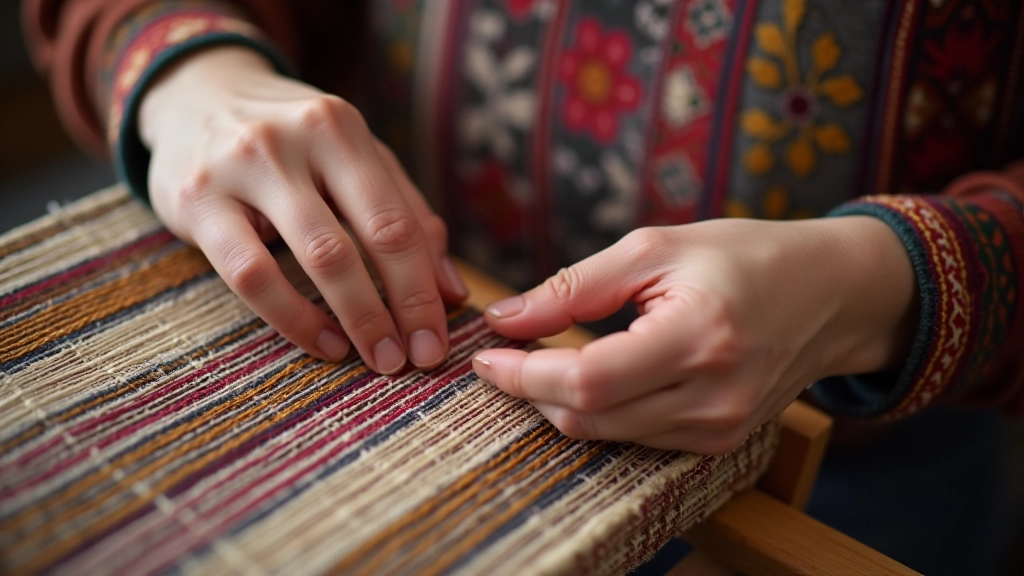
Once your loom's ready, you're actually weaving. You'll thread your weft — that's the colored thread that goes across — through the shed. The shed is the opening created between the raised and lowered warp threads. It's like a tunnel your weft thread travels through.
The basic rhythm goes like this: lift the heddle bar to raise half your warp threads, pass the weft through, then lower the heddle and pass the weft back the other direction. It's repetitive, meditative work. Your hands'll start to develop muscle memory pretty quickly — usually within a few hours of practice.
You'll use a tool called a shuttle or a needle to carry the weft thread. Some people prefer the simplicity of a needle, others like how a shuttle moves. Either works fine — it's just what feels right in your hands. And yes, your hands will get a bit tired at first, but that goes away after a few sessions.
Tips for Your First Weaving Project
Start Simple
Your first project should be a plain weave — just alternating your weft from one side to the other. Save the fancy patterns for when you've got the basic rhythm down.
Use Appropriate Yarn
Worsted weight or similar medium yarns work best for beginners. They're forgiving and show your pattern clearly. Avoid anything too thin or fuzzy at first.
Keep Notes
Write down how many warp threads you used, what yarn weight, and how long it took. You'll want this info for your next project so you can improve.
Check Tension Regularly
As you weave, your tension might drift. Every 10 or 15 rows, do a quick check to make sure the weft rows are sitting evenly.
Continue Your Learning
About This Guide
This article is intended as an educational introduction to traditional weaving. The techniques and measurements described represent common practices, but every weaver develops their own approach based on personal experience, equipment, and preferences. If you're taking formal classes at a textile workshop or with an experienced instructor, always follow their specific guidance. Traditional weaving has been practiced for thousands of years with countless regional variations — this guide covers fundamental concepts that'll get you started, but there's always more to learn and explore.
Ready to Start Weaving
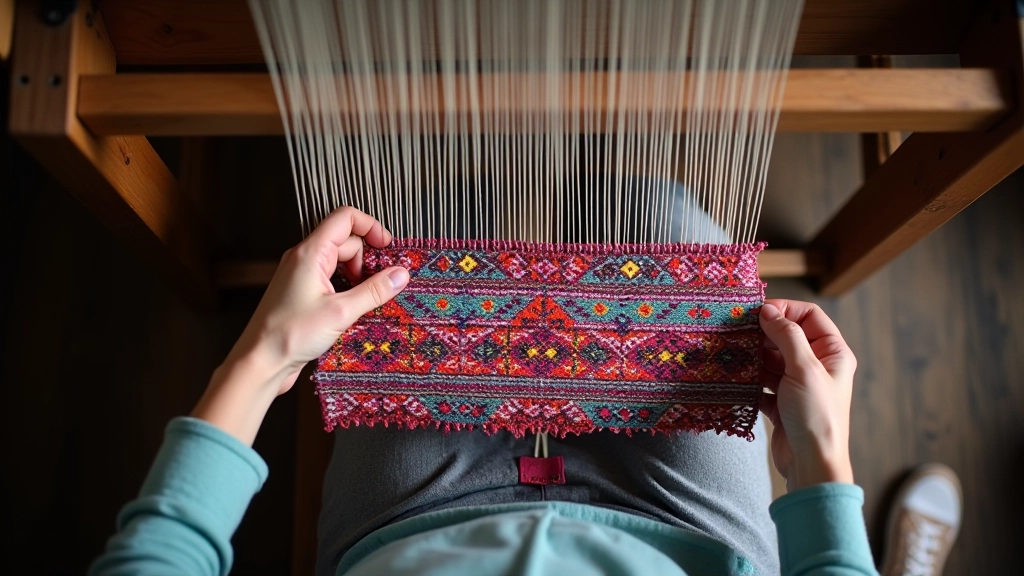
Weaving on a traditional loom isn't complicated, but it does require patience and practice. Your first few projects won't be perfect — nobody's are. You'll find threads that came loose, rows that got a bit wonky, tension issues you didn't expect. That's completely normal and part of the learning process.
The good news? Weaving is forgiving. You can unweave sections and try again. Each mistake teaches you something about how the threads work and what adjustments help. By your third or fourth project, you'll notice huge improvements in consistency and speed. By the tenth project, you'll be creating pieces you're genuinely proud to share.
If you're interested in learning more about traditional Lithuanian textile techniques, the workshops in Kaunas offer hands-on classes where you can work with experienced weavers. They'll show you techniques that take years to fully understand, and you'll connect with a community of people who love this craft as much as you do.